


Being I am a photographer, having family photos is obviously super important to me. BUT, it also feels a bit like a job. In the past I would take tons of photos and then dump them somewhere…doing NOTHING with them. This means I started to have THOUSANDS (literally) of photos piling up on my external drive, with no editing or organization. Thankfully I developed a system to manage this monthly and now that I’m caught up it’s not overwhelming anymore. My best piece of advice for you is to start now. With this month. Don’t try to go back and fix years of mess, it’ll only get overwhelming! You can always work backwards if you have extra time. I hope this system helps you enjoy those sweet memories! Babies don’t keep. <3
Step 1: Invest in a great external drive. NOTHING good comes from keeping all of your photos on your computer. Eventually it will fill up the computer and you will have a disaster (ha, I’ve done this TWICE!!!). Plus your photos aren’t safe if your computer fails, etc. I have TWO external drives for my family photos and I just copy everything to both for safety…but I’m crazy. For most people one external drive is plenty. I suggest getting a large one– 3-4 TB, unless you ONLY have phone photos…in which case I think 2 TB would be plenty. I like WD drives, but amazon is loaded with tons of them. Just be sure it’ll work with a Mac or PC…whatever you have and read the reviews!
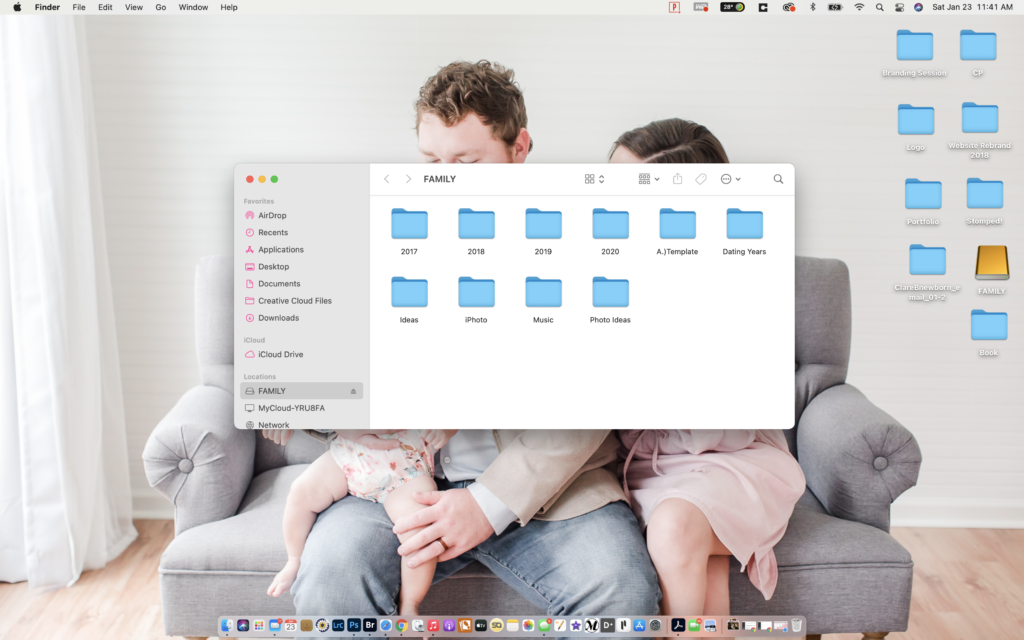
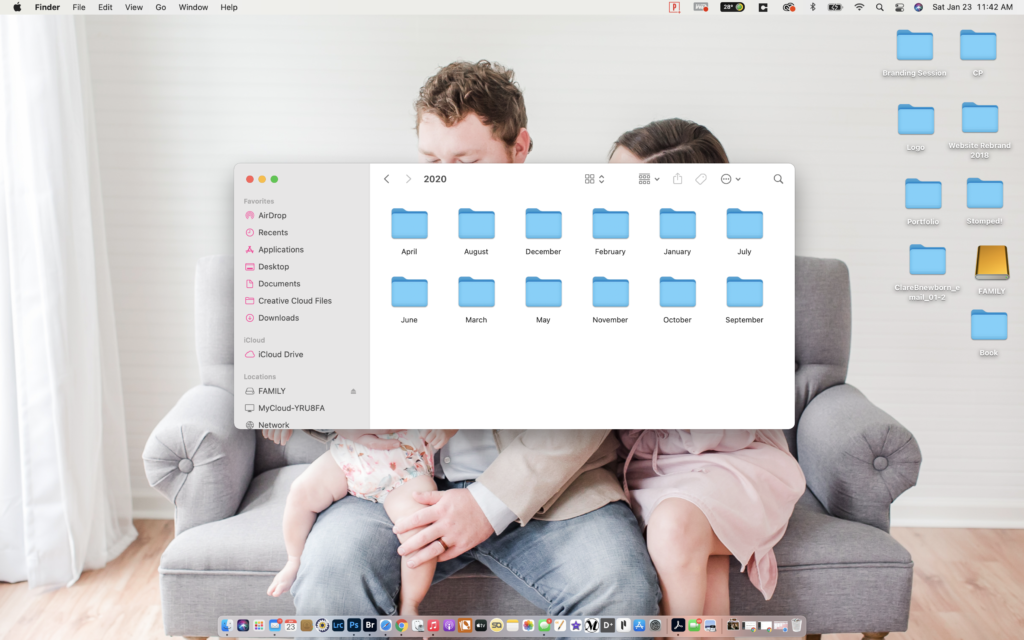
Step 2. ORGANIZE. ORGANIZE. ORGANIZE. “Hey Clare, remember that photo you took last year, sometime in the fall with me in that dress I love…yeah I wanna print that.” This is a common phrase family members ask me all the time. Luckily, since my photos are super organized now, it makes them easy to find. I have a system of folders and I’m showing an example below…I organize by year, then by month. From there I’ll show you how I divide!
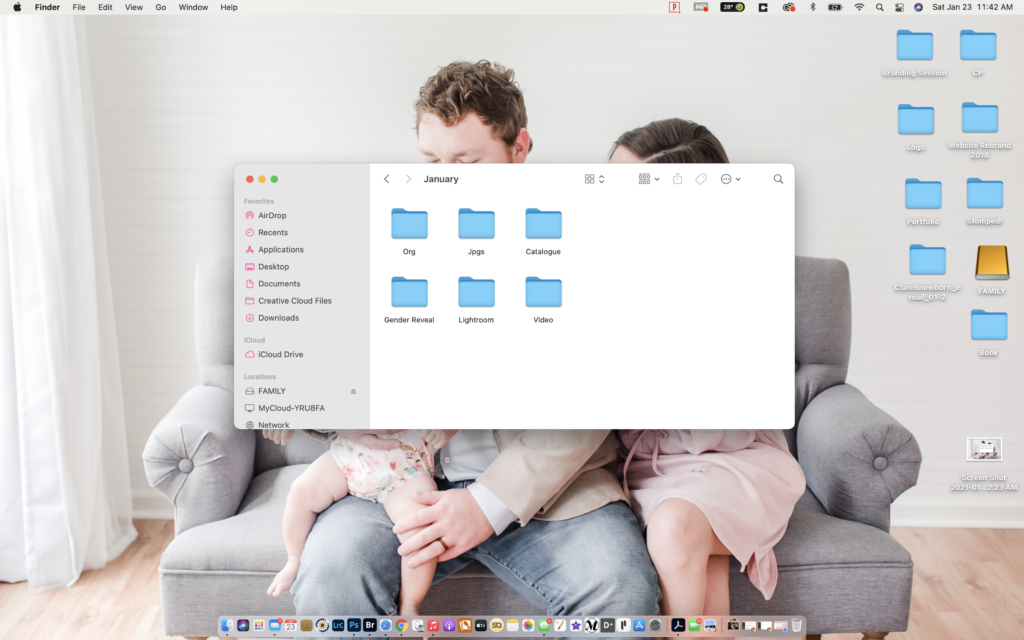
This is how I choose to organize the inside of my monthly folders.
Org: These are the ORIGINAL files…I’m a photographer so I shoot in RAW. If you don’t know what this means then don’t worry about it! I put my RAW files in this folder as well as my iPhone photos. Everything I have photographed in that month regardless of device I used.
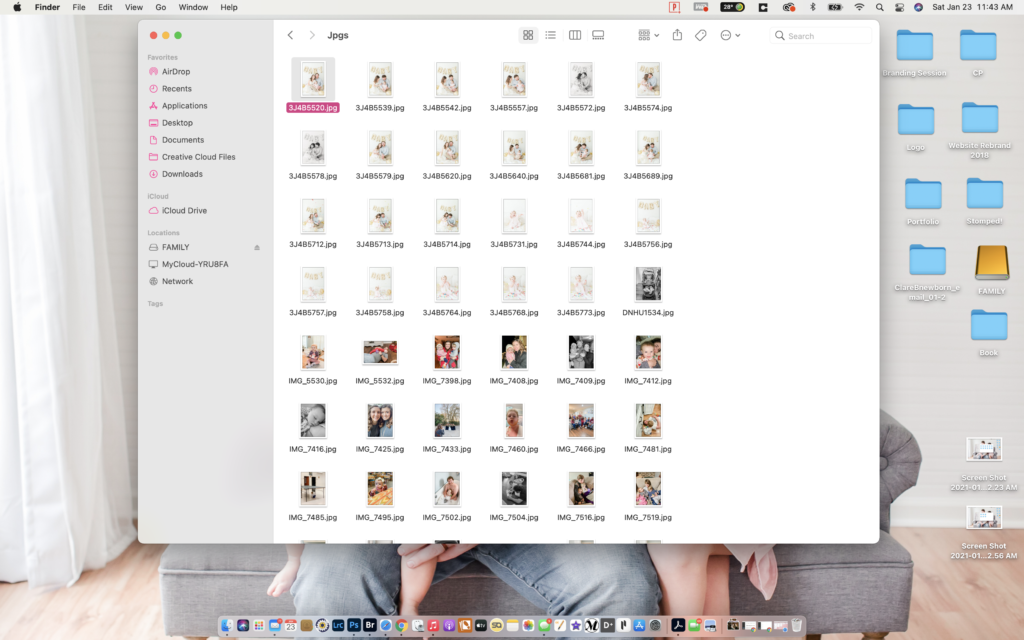
Jpgs: Once I edit the RAW files I export them to this folder as they are now Jpgs. This is the final folder for my images and where I pull them from for books + prints! I upload this folder to an online backup service to save and access online. I use my professional company PASS, but Amazon Prime does a great job also I’ve heard!
Catalogue: This is my Lightroom Catalogue for that month. I keep my catalogues separate and save them in each month for quick and easy access if I need to re-edit anything! Again, if you don’t know what this is, then skip it, you won’t need it!
Lightroom: This is the folder of RAW images that I actually import into my Lightroom Catalogue. I shoot a ton and have lots and lots of RAW files…I won’t import duplicates of the same shot…I choose my favorites, give them a 5 star and put them in this separate Lightroom folder. From there I import ONLY these files into Lightroom.
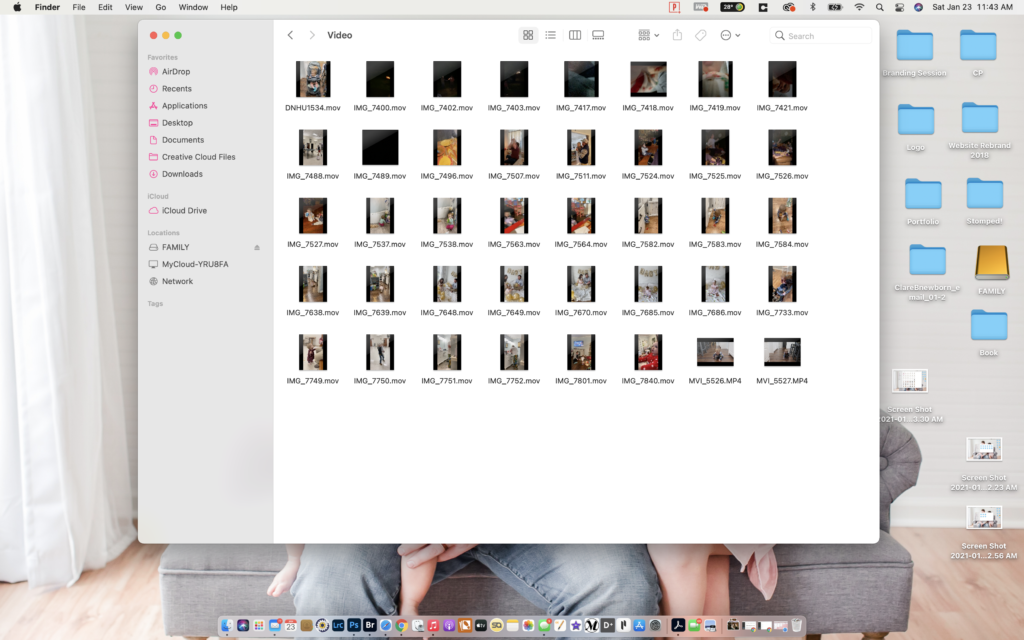
Video: This is where I put all of my videos from that month. iPhone videos are the majority of what I have, so I just dump them in here!
So here is the workflow that I’ve developed over the last few years. 2020 is the first year that I really pushed myself to stick to it and I’m so THANKFUL I did! Here at the beginning of 2020 my entire year of photos are finished and edited. The best feeling ever!
Once you have your folders made on your external here is my monthly workflow:
- Import Card or Phone into ORG folder in correct month. I want to note here that if you’re a photographer your family photos may be coming in from LOTS of sources. I have professional photos of my family taken on the “big” cameras…a small camera for my personal use AND iPhones…ALL of this goes into the ORG folder. You can dump it in here however you’d like. I stopped organizing by event because I prefer to just see the entire month at a time.
- Go through your entire ORG folder previewing your images. 5 star ALL of your favorites. Don’t skimp, but don’t choose tons of duplicates because if you ever do a photo book, you won’t want any duplicates. Choose all the ones you love. Put all your videos into the “Video” folder. Using Adobe Bridge, or a similar program can REALLY speed this up!
- If you’re familiar with editing then bring those 5 starred images into a separate folder — for me this is my “Lightroom” folder. If you’re not using Lightroom, maybe just title this “Favorites”.
- Edit. If you’re a photographer, or someone who loves editing your photos then you’re probably using Lightroom. Lightroom also has a great app for your phone that’s easy for beginners if you just want to do a few before putting them on your computer. I make a new catalogue for each month…when I’m finished I export to the JPG folder.
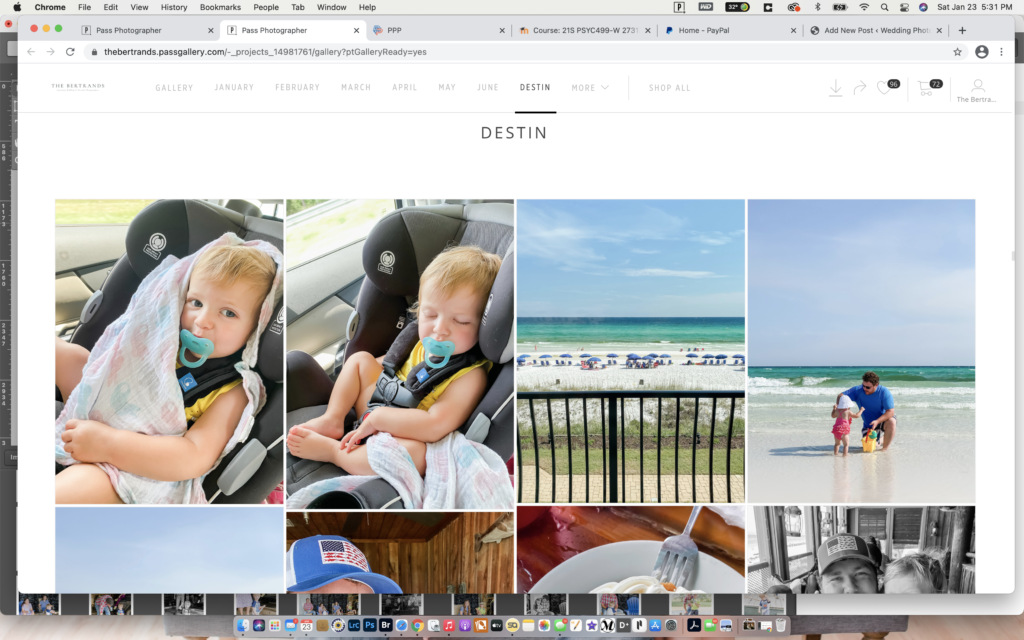
- The hard work is over! From here I add the JPGS to my online backup storage for safekeeping…and I send a link to my family so they can enjoy + download their favorites! People used to say “Send me that!” and I NEVER would…because I edited it like 3 years later…now I really can share with them pretty fast.
Tips if you’re only using Phone photos:
This process is quick and easy if you’re using phone photos only. You can edit on your phone if you’d like before importing to your computer. I would say the KEY is to actually put them on your computer every month. I don’t keep my iPhone photos in iPhoto because eventually it’s going to seriously clog up your computer. If you’re not editing then simply add your favorites to a “Favorites” folder–because who doesn’t have tons of duplicates? Then you’re good to go! Having all your favorites organized by month is going to make projects a TON easier.
Yearly Photo Yearbook:
At the end of the year I take ALL of those JPG folders and I begin to create a family yearbook. I create mine on Blurb and I LOVE the outcome. I can literally put thousands of images in it. Here’s a quick video of mine from last year! My 2020 Yearbook is on it’s way!
What to do with Video: This is not my area of expertise….I do it the simple way and dump all of my videos into iMovie and make one long home movie for the year. I export that huge file and put it on my external drive. We have an apple TV so I simply take my laptop into the living room and mirror to the TV and we get to watch a whole year in review. Love, love, love watching memories of our babies this way. Time passes too fast! iMovie is SUPER easy to use.
Feel free to comment with any questions you may have about this process! I’m HAPPY to help! <3

wedding guide
Love pretty details? Need help planning the perfect wedding? Grab our FREE guide to help make sure your carefully chosen details are ready for the spotlight!
SEND ME MY GUIDE

portrait guide
Planning a family portrait session and overwhelmed with outfit choices? Grab our free guide for “Perfectly Curated Portrait Outfits”.
SEND ME MY GUIDE

